教程
我们将使用weex技术做一个简单逼真的列表,这种形式的列表也可用于电子商务app/手机网站。
开始
我们从制作一个简单的列表开始。
<template>
  <div class="container" >
    <div class="cell">
       <image class="thumb" src="http://t.cn/RGE3AJt"></image>
       <text class="title">JavaScript</text>
    </div>
  </div>
</template>

<style>
  .cell{margin-top:10 ; margin-left:10 ; flex-direction: row; }
  .thumb {width: 200; height: 200; }
  .title {text-align: center ; flex: 1; color: grey; font-size: 50; }
</style>
复制上面的代码并命名为 tech_list.we (.we 是推荐的文件扩展名)
Weex CLI工具链是基于Node JS的,所以你需要先安装Node。 然后你可以使用Node JS npm命令安装Weex CLI程序。
npm install -g weex-toolkit
Weex CLI程序安装完毕后,你可以输入weex命令来验证Weex CLI是否安装成功。如果看到下面的文字说明已经安装成功了:
Usage: weex foo/bar/your_next_best_weex_script_file.we  [options]

Options:
  --qr    display QR code for native runtime                           [boolean]
  -o      transform weex JS bundle only, specify bundle file name using the
          option                                 [default: "no JSBundle output"]
  -s      start a http file server, weex .we file will be transformed on the
          server, specify local root path using the option     [default: false]
  --help  Show help                                                    [boolean]
如果一切就绪, 进入 tech_list.we 所在目录, 然后输入
weex tech_list.we // Weex H5 renderer is not released , so , the commond not works now
浏览器会自动打开一个页面,并显示如下的内容:
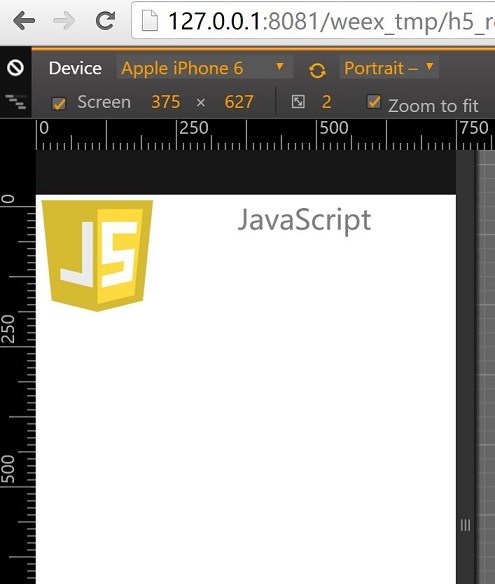
Weex H5 renderer 还没有发布 , 所以请暂时使用 Weex Playground App查看
Weex语法入门
“无聊的语法”时间到了, 如同tech_list.we的内容, Weex 源码由三部分组成 -- template, style, script。 就像web由 html,css,javascript 组成一样。
Template 是weex 的骨架,它由内容两侧的标签组成并有其含义。Weex有两种标签, 起始标签 & 闭合标签, 一个起始标签和一个闭合标签被称为一对Weex标签。标签具有属性,不同的属性有不同的含义,class属性可以为多个标签规定相同的样式, onclick属性可以使标签响应点击事件。
Style描绘了Weex标签的显示样式。我们和你一样喜欢CSS,所以我们试着保持和CSS一致的可用标准。 Weex Style支持大部分CCS, 比如:margin, padding, fixed...... 不仅如此,Weex Style也可以很好的支持flexbox layout (flex)。
使用脚本为Weex标签添加数据和逻辑,帮助您轻松访问本地或远程数据并更新标签。你也可以为标签定义方法使标签可以响应不同的事件. Weex语法大部分是从CommonJS模块样式学来的。
更多的Wexx语法可言查看 语法.
添加更多列表项目
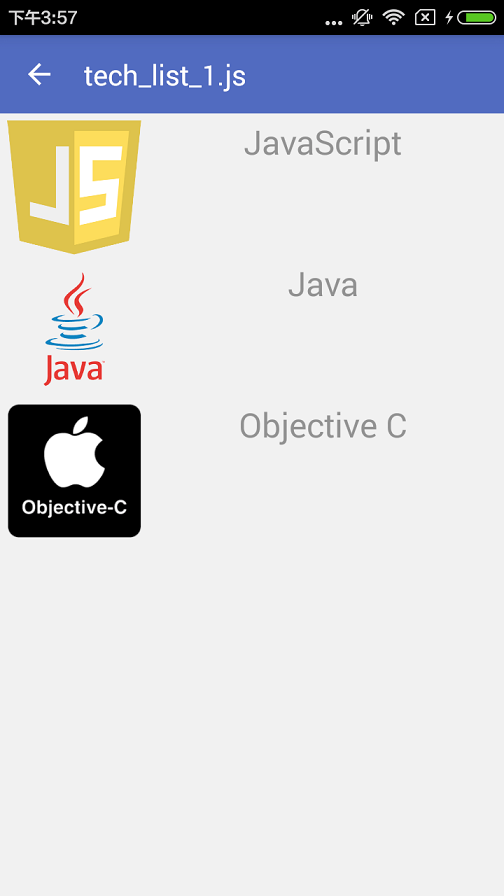
只有一个项目不能称之为列表,所以我们需要向tech list添加更多项目。 用你喜欢的文本编辑器打开tech_list.we并更新内容如下:
<template>
  <div class="container"  >
    <div class="cell">
       <image class="thumb" src="http://t.cn/RGE3AJt"></image>
       <text class="title">JavaScript</text>
    </div>
    <div class="cell">
       <image class="thumb" src="http://t.cn/RGE3uo9"></image>
       <text class="title">Java</text>
    </div>
    <div class="cell">
       <image class="thumb" src="http://t.cn/RGE31hq"></image>
       <text class="title">Objective C</text>
    </div>
  </div>
</template>

<style>
  .cell{margin-top:10 ; margin-left:10 ; flex-direction: row; }
  .thumb {width: 200; height: 200; }
  .title {text-align: center ; flex: 1; color: grey; font-size: 50; }
</style>
现在我们用Weex原生渲染器渲染tech_list.we。打开终端并再次进入tech_list.we所在目录。,然后输入
weex tech_list.we --qr
终端将显示出来一个二维码,如下:
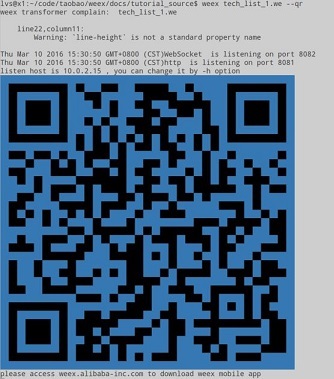
此二维码将配合Weex playground App工作, 你可以在这里下载Weex playground App。安装并打开Weex playground App ,然后点击右上角的扫描图标, 扫描终端里的二维码。如无意外,你的手机上将显示一个漂亮的列表。在此,我必须强调这个列表是用原生部件渲染出来的(不是webkit),所以你的app可以比常见的植入webkit渲染器加载速度更快,使用内存更少。
再次打开tech_list.we并更改代码,保存后Weex playground App立即显示你更改的内容。这就是所谓的热重载, 它同样支持Weex浏览器渲染器。希望热重载可以帮你得心应手的debug Weex代码。
添加内置组建
除了自己写基本标签之外, Weex提供了大量的内置组建。比如,滑动模块在很多APP/手机网站都很常用,所以Weex包含了一个内置滑动模块,你可以在代码里轻松的使用此组件。打开tech_list.we更新内容如下:
<template>
  <div style="flex-direction: column;">
    <slider class="slider" interval="{{intervalValue}}" auto-play="{{isAutoPlay}}" >
      <div class="slider-pages" repeat="{{itemList}}" onclick="goWeexSite" >
        <image class="thumb" src="{{pictureUrl}}"></image>
        <text class="title">{{title}}</text>
      </div>
    </slider>

  <div class="container" onclick="goWeexSite" >
    <div class="cell">
       <image class="thumb" src="http://t.cn/RGE3AJt"></image>
       <text class="title">JavaScript</text>
    </div>
    <div class="cell">
       <image class="thumb" src="http://t.cn/RGE3uo9"></image>
       <text class="title">Java</text>
    </div>
    <div class="cell">
       <image class="thumb" src="http://t.cn/RGE31hq"></image>
       <text class="title">Objective C</text>
    </div>
  </div>
</template>

<style>
  .cell{margin-top:10 ; margin-left:10 ; flex-direction: row; }
  .thumb {width: 200; height: 200; }
  .title {text-align: center ; flex: 1; color: grey; font-size: 50; }
  .slider {
        margin: 18;
        width: 714;
        height: 230;
  }
  .slider-pages {
        flex-direction: row;
        width: 714;
        height: 200;
  }
</style>

<script>
module.exports = {
    data: {
      intervalValue:"1000",
      isShowIndicators:"true",
      isAutoPlay:"true",
      itemList: [
        {title: 'Java', pictureUrl: 'http://t.cn/RGE3uo9'},
        {title: 'Objective C', pictureUrl: 'http://t.cn/RGE31hq'},
        {title: 'JavaScript', pictureUrl: 'http://t.cn/RGE3AJt'}
      ]
    },
    methods: {
      goWeexSite: function () {
        this.$openURL('http://alibaba.github.io/weex/')
      }
    }
}
</script>
打开终端再次运行命令
weex tech_list.we
你可以在列表最上面看到一个滑动模块。
关于滑动模块的更多信息请查看这里。
就像前面的例子,滑动模块是原生渲染,Weex playground可以轻松实现,在你的app里也一样。请参阅文档以更快的集成到您的app里。